How I Edit my Photos for Instagram
Recently, I’ve taken a real interest in photo editing. I love the challenge of taking an ordinary image from my camera or phone and making it look it’s best. I don’t like to use obvious filters or crazy colours, I try to keep things natural, bright and feminine. I suppose my photos have a slightly dreamy quality to them but they still look very down to earth. If you’d like to learn how I do it, keep reading!

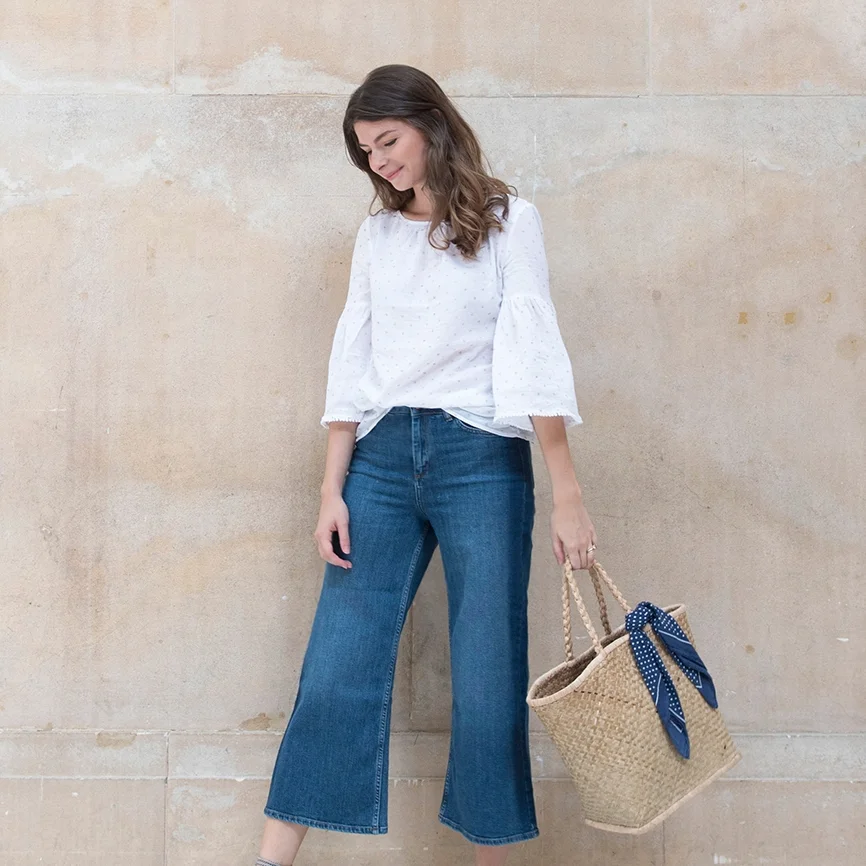
As you can see from the image above there’s a slight dreamlike, hazy quality which I think is super pretty. This is achieved by adding clouds of hazy colour to soften the image. I also edit the colours slightly to give my photos a gentle rose tinted effect too. What can I say I love peach and pink these days!
This look is very easy to capture during the summer months so I’m guessing I may have to adjust my photo taking schedule once the light gets a lot cooler and darker in the winter. I imagine that I’ll do a part two in this series specifically for cosier weather!

Here’s a short video I made explaining each step in detail. You only need a basic idea of how to use photoshop to achieve my editing style so don’t worry if you’re not that technical! I hope you enjoy watching.
I really hope you found this post useful, please do let me know if you’re going to give this editing style a try! Please do comment if you have any questions and I look forward to seeing your lovely photographs. If you’d like to be kept up to date with what I’m doing please follow me over on my insta account if you don’t already.
Hi I'm Nancy!
Thanks for stopping by, I hope you enjoyed the post. Make sure to drop by regularly for interior, style and travel inspiration as well as stories from my from daily life.