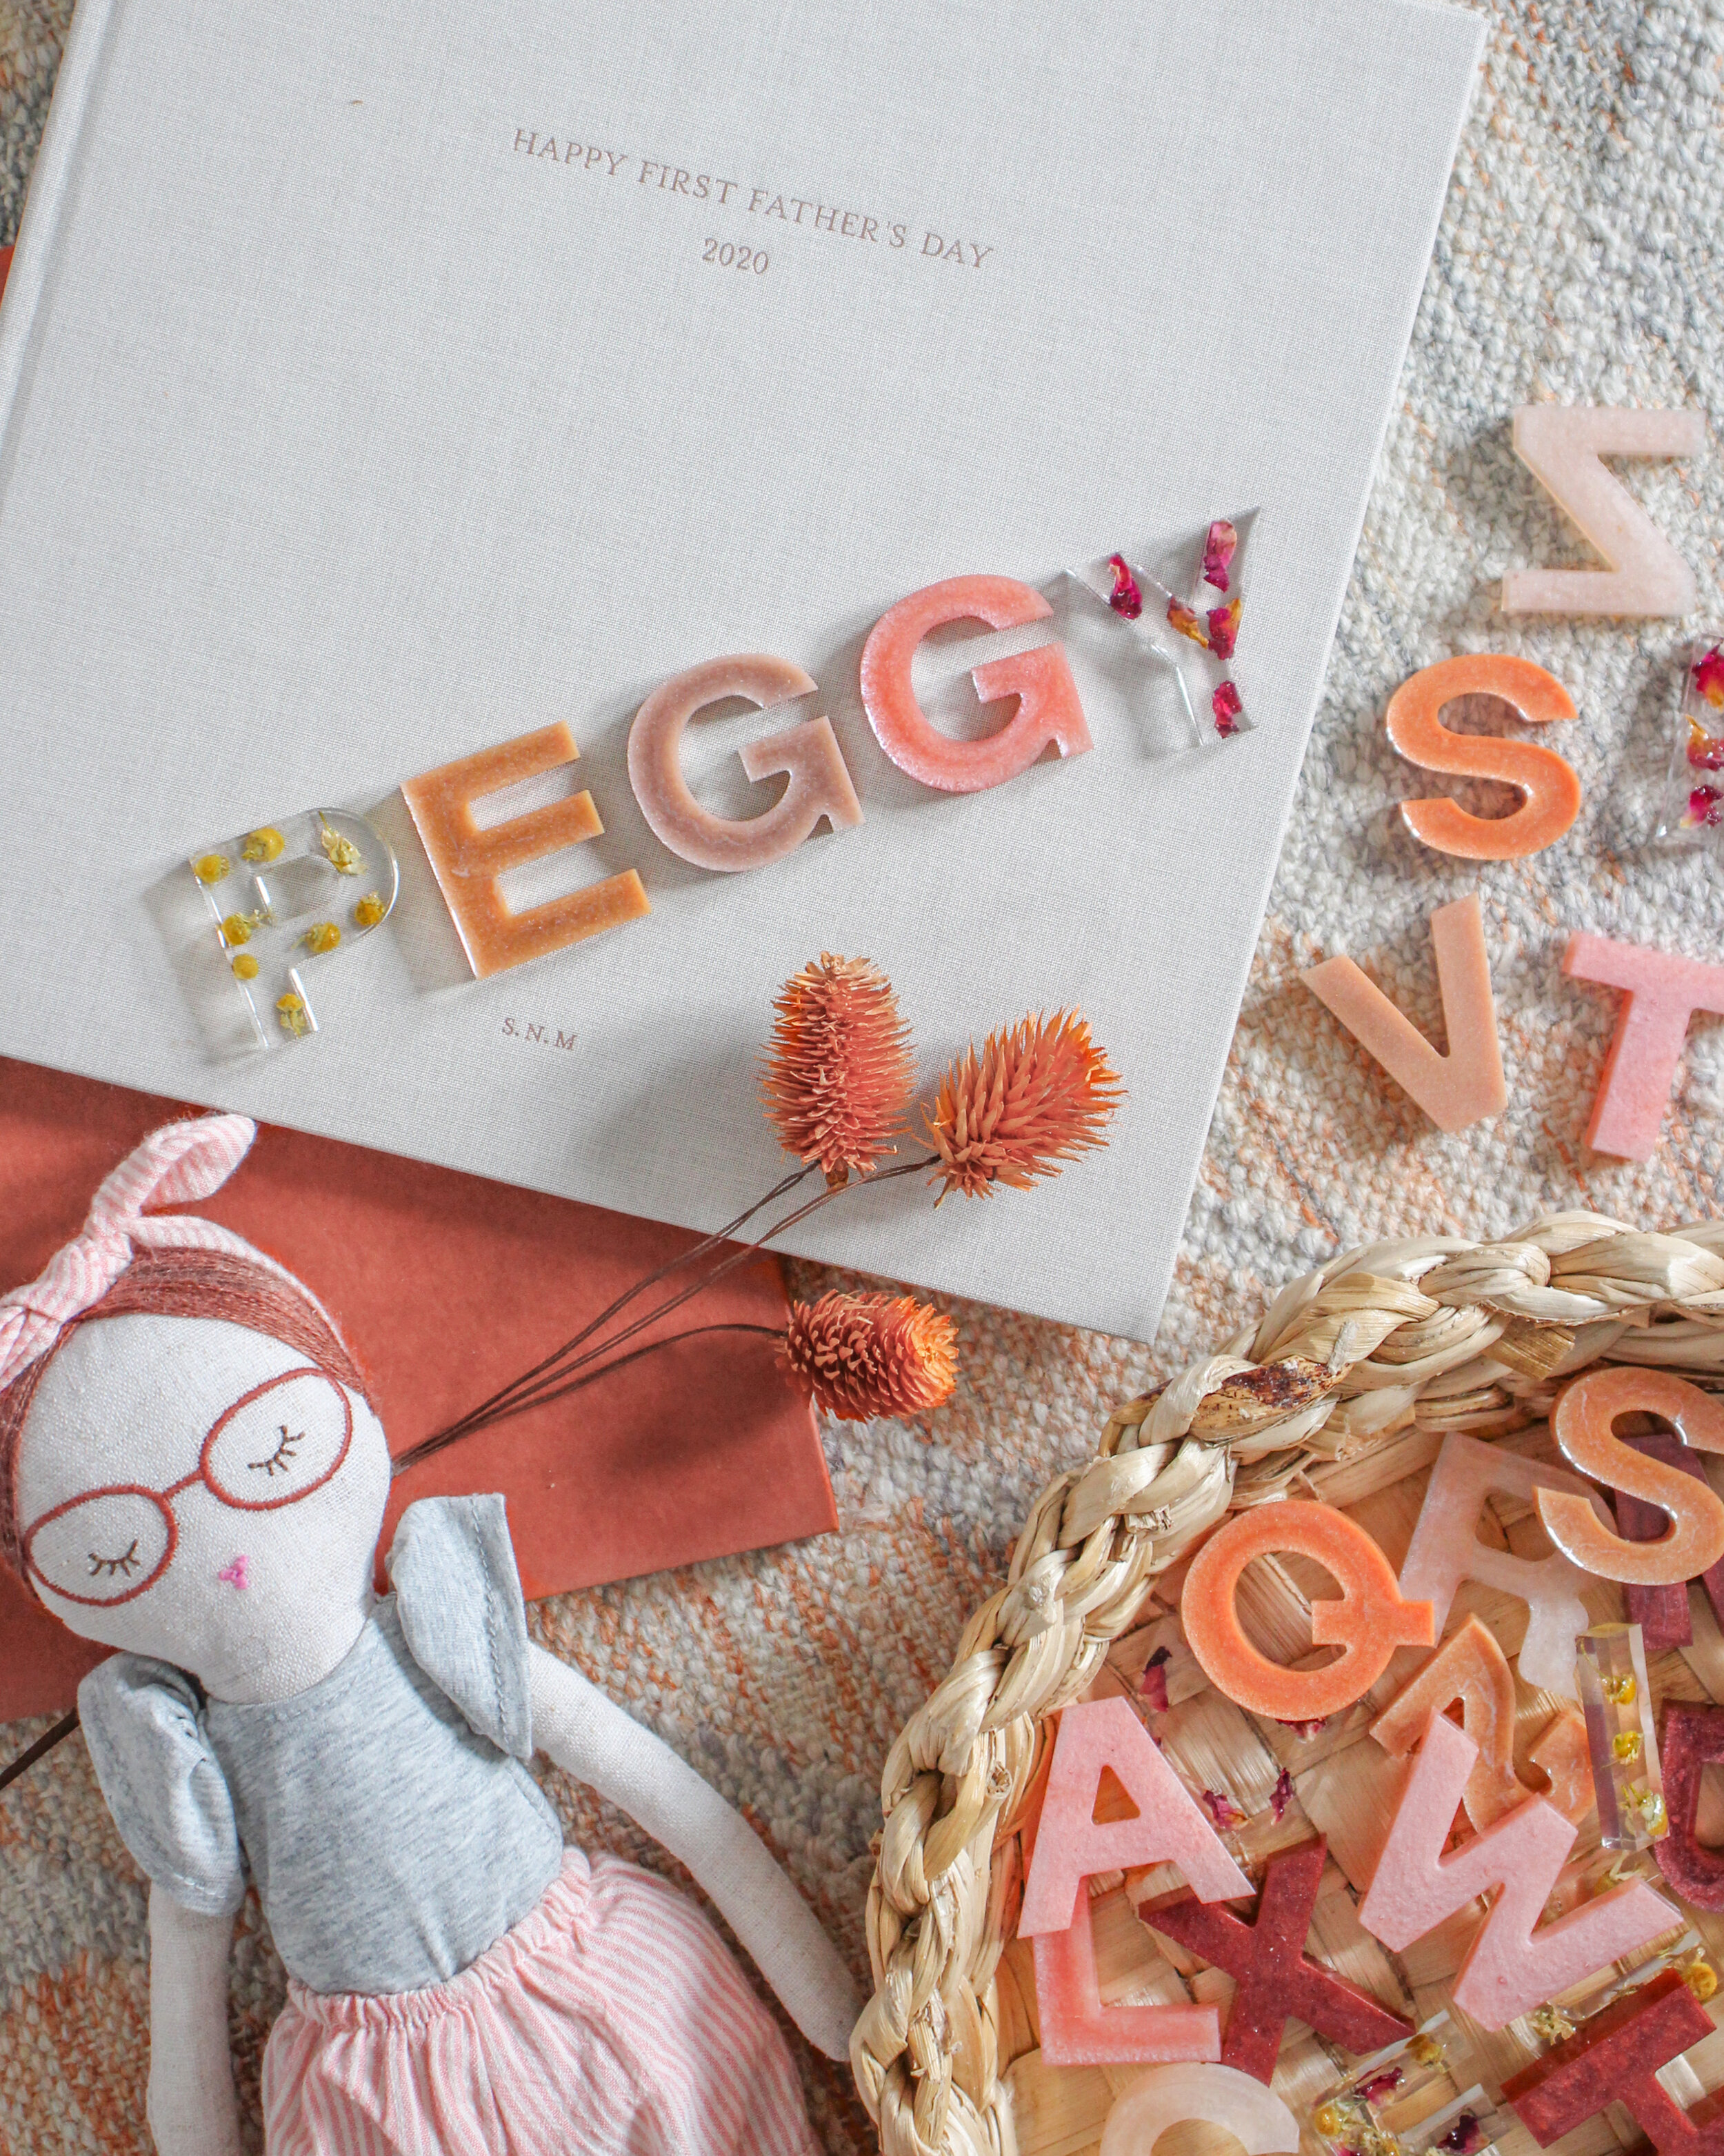
DIY Resin Letters
DIY epoxy resin letters. Never has a craft project given me so much joy, they were so satisfying to make!
I saw this idea via My Wild Sparrows and after doing some research I knew I had to try my hand at it. I feel like I have to say this - these are not toys, they are for educational and decorative purposes. I will never leave Peggy with them unsupervised as the letters are a chocking hazard for small children. They are so beautiful though, so I highly recommend giving them a go.
These resin letters will make a perfect personalised gift for someone. There are so many options, key rings, wedding favours, mini signage, place settings, or just use them like I do and teach your child the letters and sounds of the alphabet with them! You will become addicted to resin crafts though, you’ve been warned.
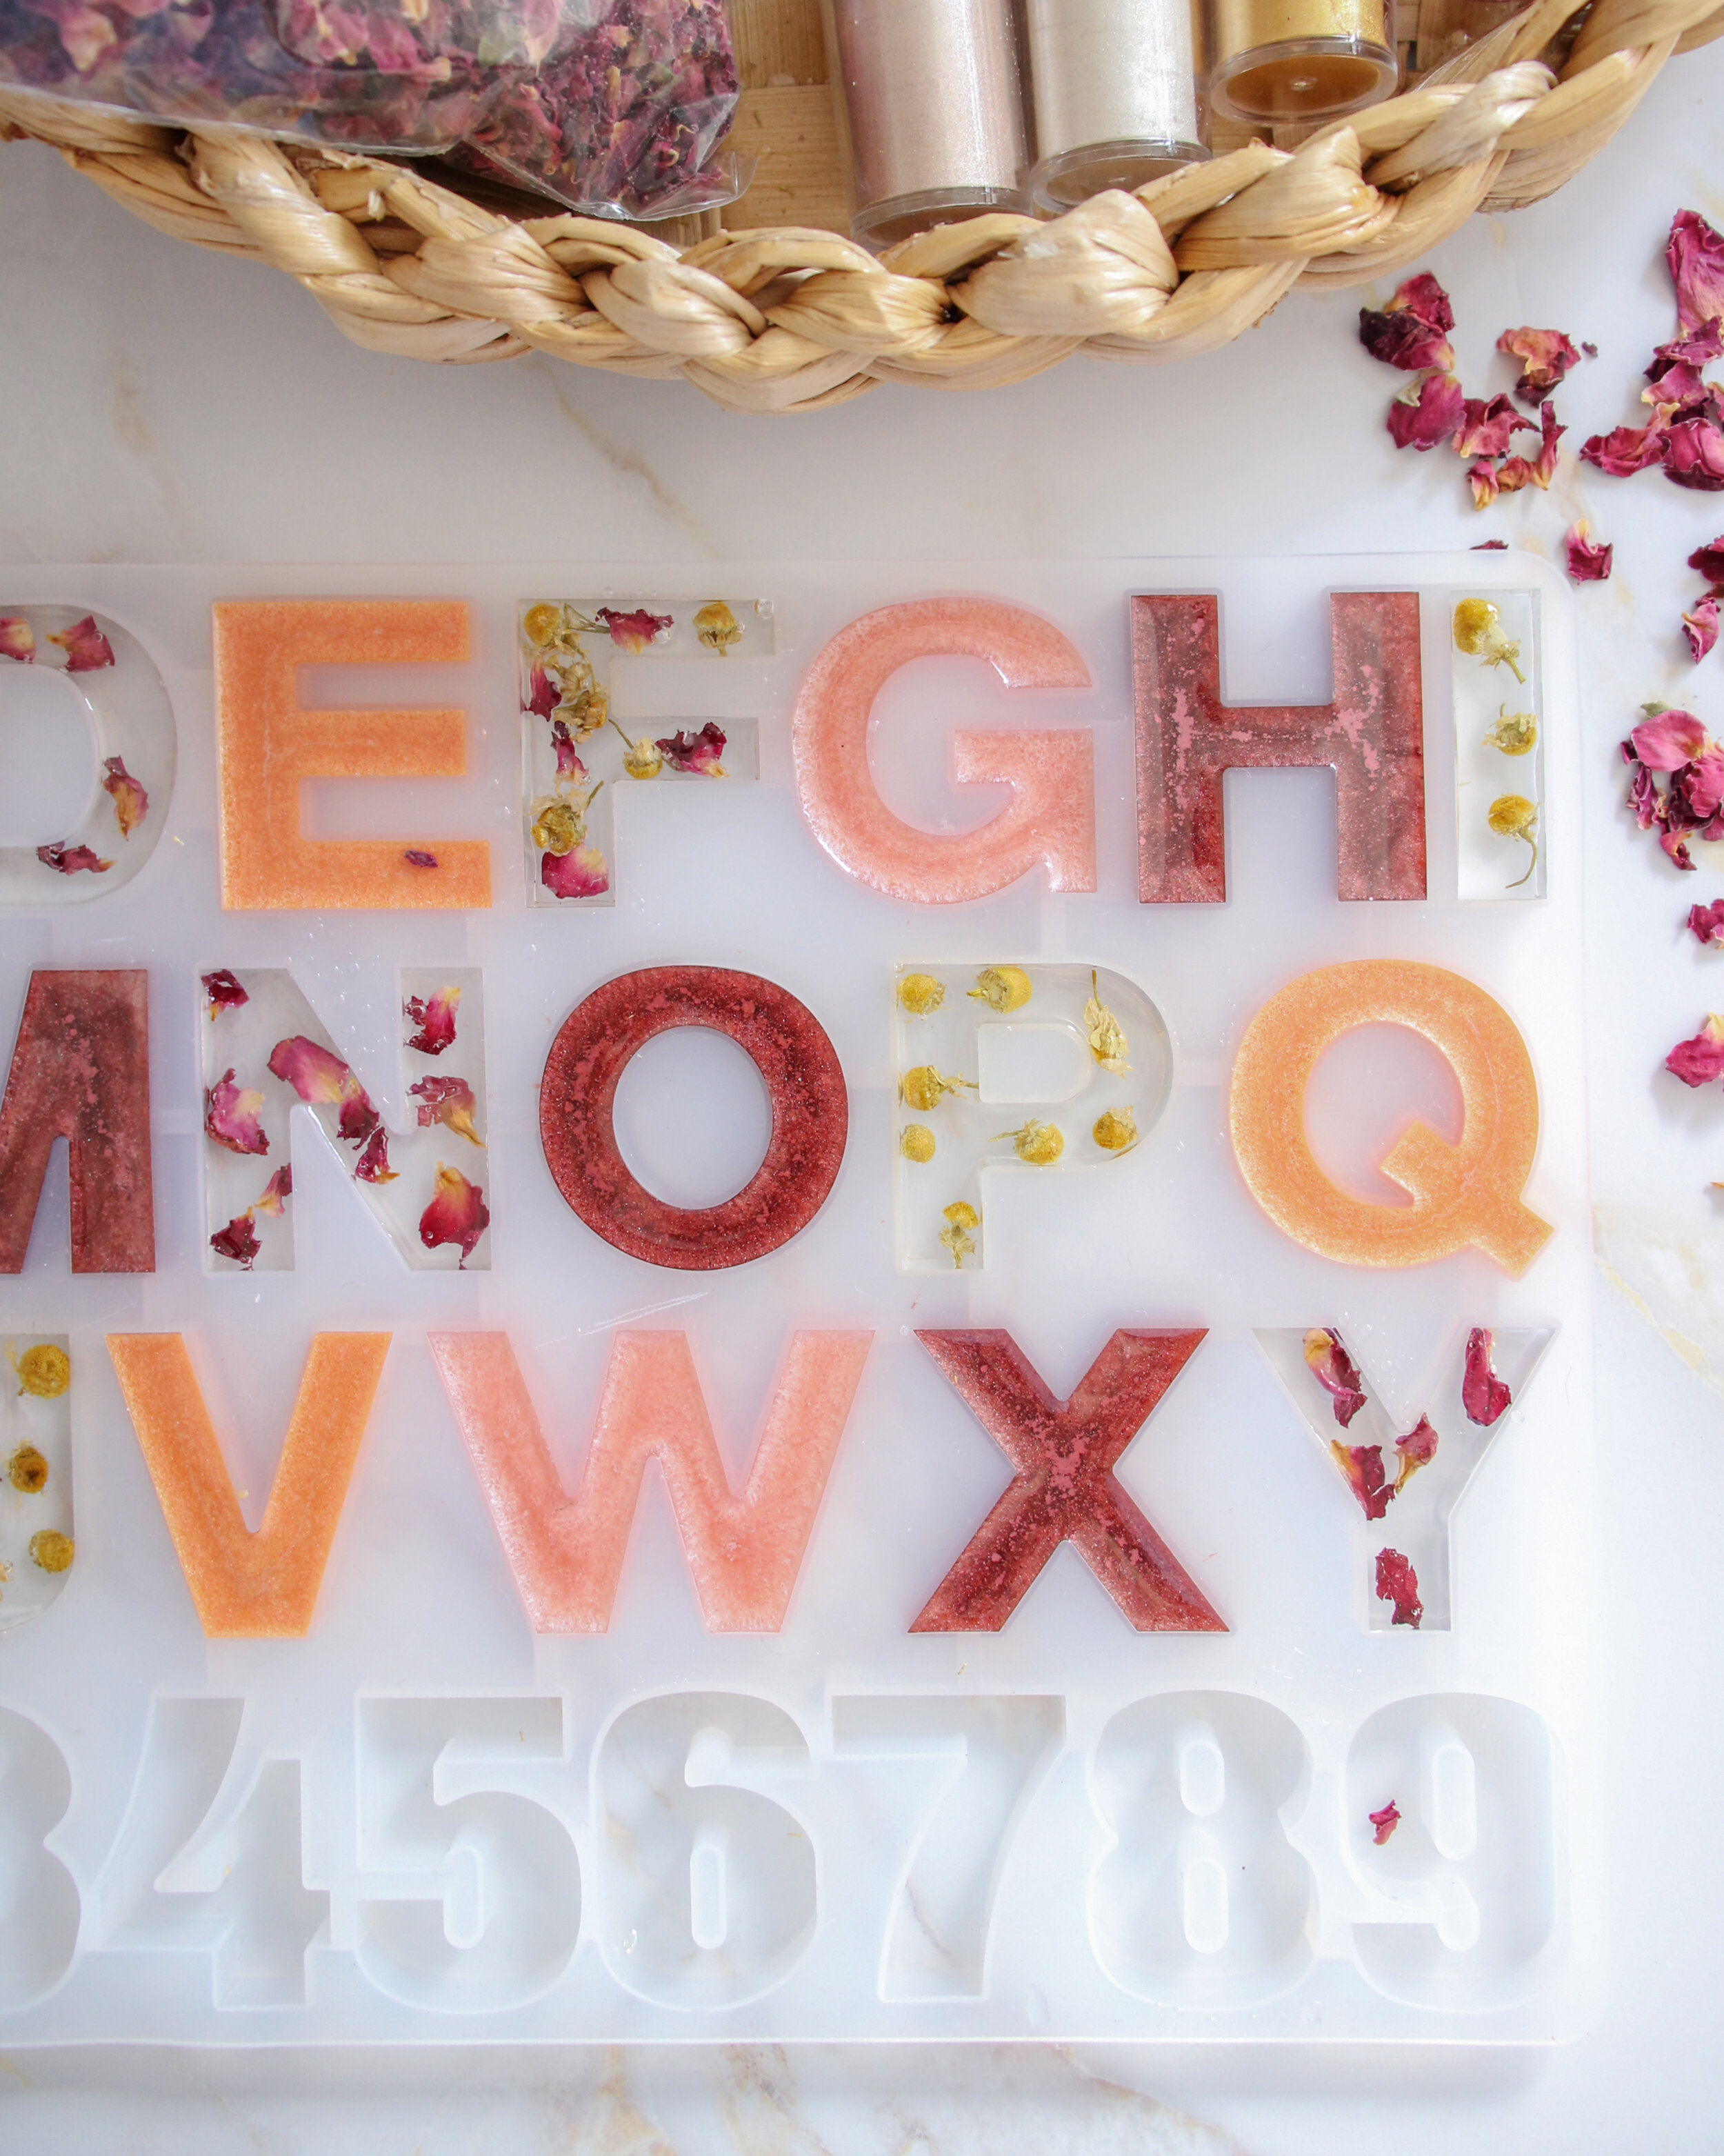
I used mica powders to colour my letters and I also added in some dried rose petals and chamomile flowers. Feel free to make them in whatever colour you like but I’ll link the powders I used in the equipment list, I love those warm tones.
YOU WILL NEED
– Cups, I re-used takeaway coffee cups
– Plastic spoons or wooden sugar stirrers
– A silicone mould, I used this one
– A selection of mica powders like these
– Epoxy resin
– Dried flowers or herbal tea
How to make an epoxy resin alphabet
Step 1
Pop on some rubber gloves and open the window. You’ll need to carefully follow the instructions on your epoxy resin bottles. Mine were a 1:1 ratio but yours may be different. Mix up your epoxy throughly but not to hard as you may get bubbles. Once mixed add in your mica pigments.
Step 2
Mica is usually very pigmented so add a little bit, then build up. My red letters were meant to be much lighter, so I learned my lesson! If you’re planning on making up different batches of colour you can mix them up in separate cups. To save on the rubbish I actually started with the lightest colour then just added in darker tones as I went along. That way, I only had one cup to throw away at the end.

Step 3
Pour in your mixed resin into the mould. Go very slowly and carefully, the resin will take some time to cure so you don’t have to rush. If you’d like to add in dried flowers, eco glitter, or gold leaf etc. you will need to use clear resin. Add in a thin layer at first, let that get to the sticky gel stage, then add your flowers, and top with another layer of clear resin.
Step 4
Let your alphabet cure. Again, you’ll need to follow the specific instructions on your resin bottles but mine took 24 hours to harden. Now for the exciting bit! You get to de-mould the letters and see how beautiful they are.
This craft is seriously addictive. I’m already thinking about what else I could make. Coasters, wall art, trays, jewellery? Although the resin is quite pricey I still think this craft is a lot more affordable than buying epoxy letters from another maker. I really hope you give this one a try!

Hi I'm Nancy!
Thanks for stopping by, I hope you enjoyed the post. Make sure to drop by regularly for interior, style and travel inspiration as well as stories from my from daily life.