How To Sew a Simple Summer Tank Top
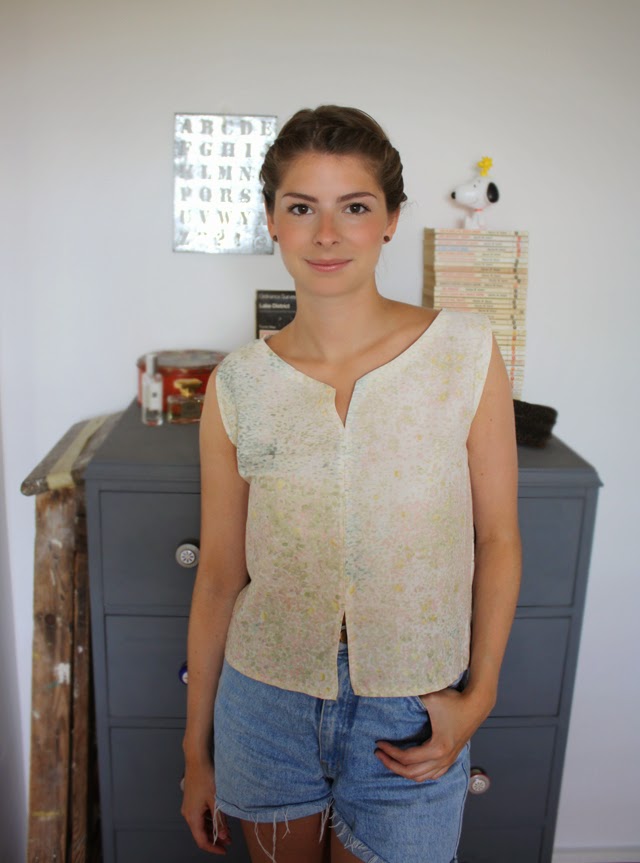
I've just come back from a week in Turkey and I found a great sleeveless top in the market one day that I couldn't resist. When I got home I kept thinking that I should have bought a few more in different colours but then I thought "why don't I just try and make one?". I had some gorgeous Nani Iro double gauze cotton ( I've blogged about her fabric quite a few times) that I've been dying to use and it worked perfectly. I only used half a metre of fabric making this a very thrifty project. Please note I'm a size 8 so you may need more fabric depending on your dress size.
See below for more photos and the instructions.

1/2 a metre of fabric - a light cotton or linen is best
Thread
Scissors
Sewing machine
Pencil or chalk
Pins
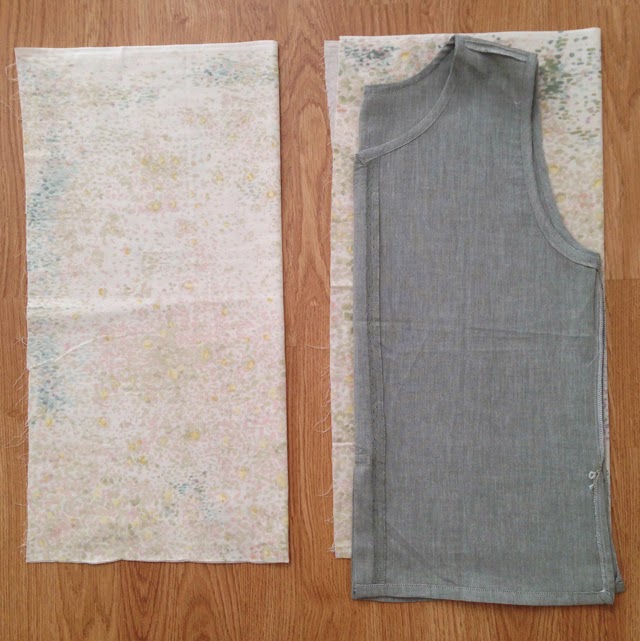
For a guide I used the top I bought in Turkey but you can use any woven (non stretch) sleeveless top that fits you comfortably. My top was a bit longer than the fabric so I had to make my new top a wee bit shorter. I used a 1.5cm seam allowance for this project.
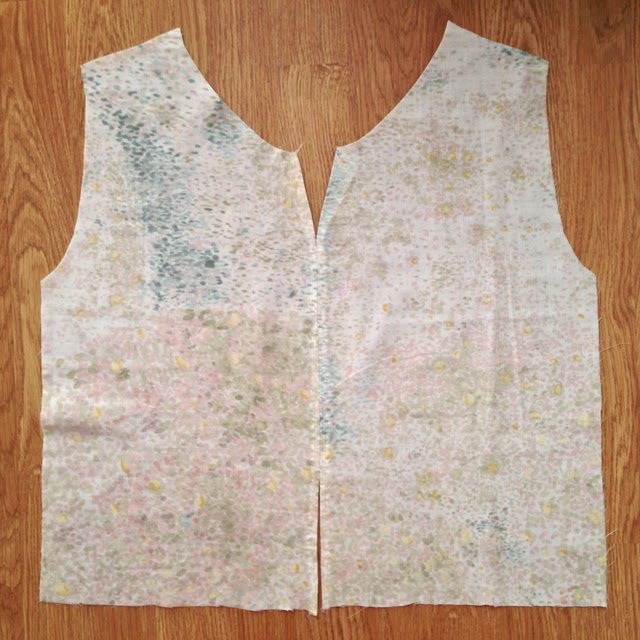
Begin by folding your fabric in half lengthways and cutting in half across the fabric. Then lay out your two smaller pieces next to each other. Turn your top inside out and fold in half. Lay it down on top of one of the pieces of fabric ensuring that the fold of the top matches the fold in the fabric. Draw around the top following the shape of the back leaving a 1.5 seam allowance. Then lay the top down onto the other piece of fabric and draw around the top following the shape of the front, again leaving a 1.5 seam allowance.
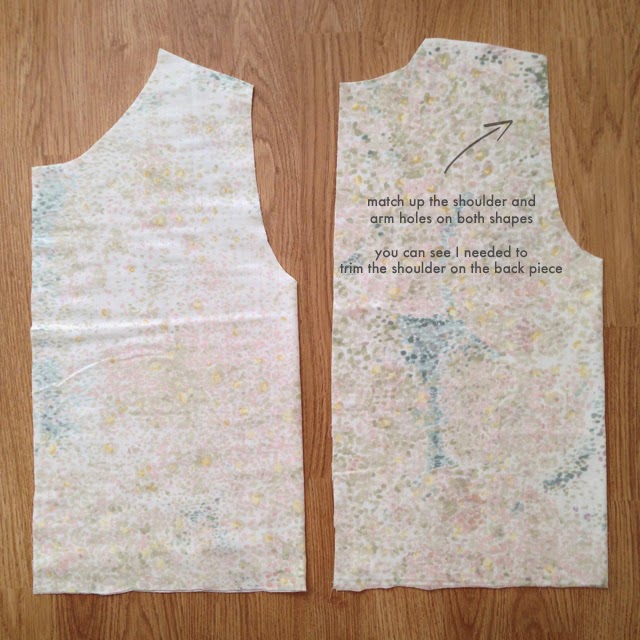
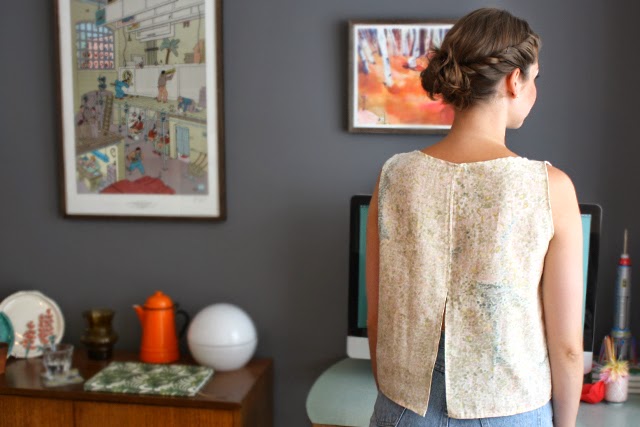
Before cutting it is very important to ensure that the arm holes and shoulders are the same on the back and front pieces otherwise your top may not match up when sewing. Cut around both your drawn shapes, you also need to cut the front and back pieces in half to ensure you can make those nice breezey splits.
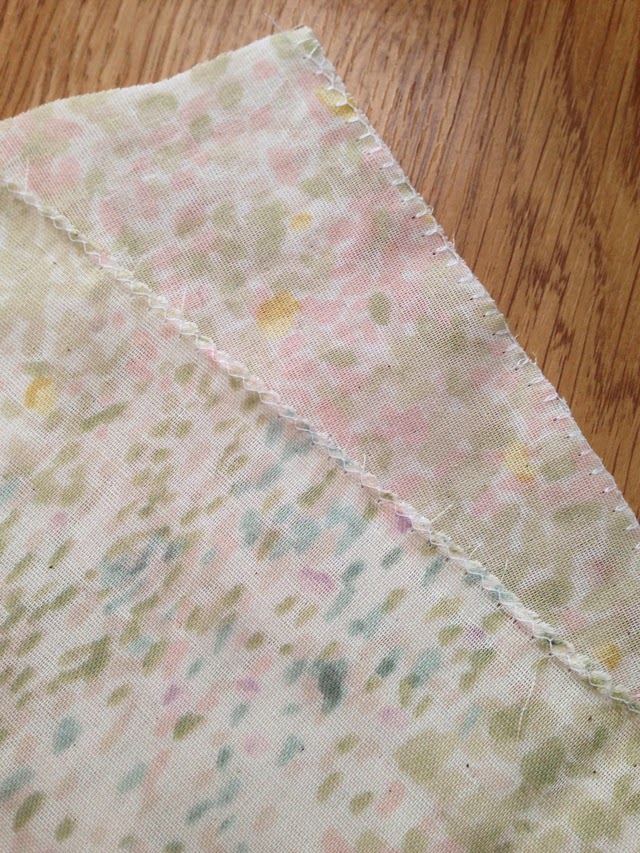
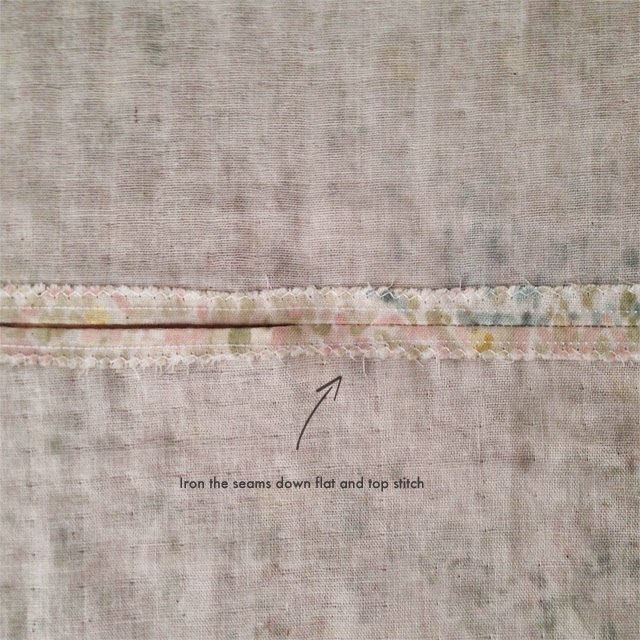
Open out the seam flat and iron all the way down the stitching, front and back. Next you will need to top stitch so make sure its neat! Run your top stitching all the way from the top hem down to the bottom on both sides so that the split seams are tucked in and tidy. Do this on both the pieces
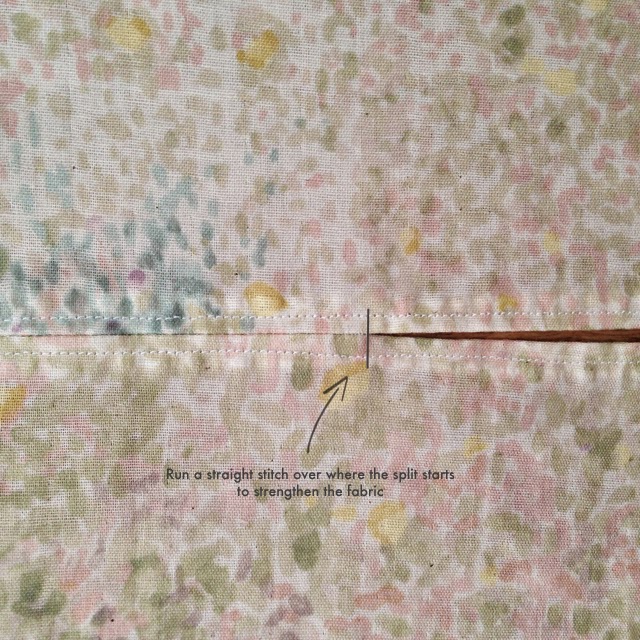
I strengthened my stitching where the split starts by doing a few straight lines just above the split.
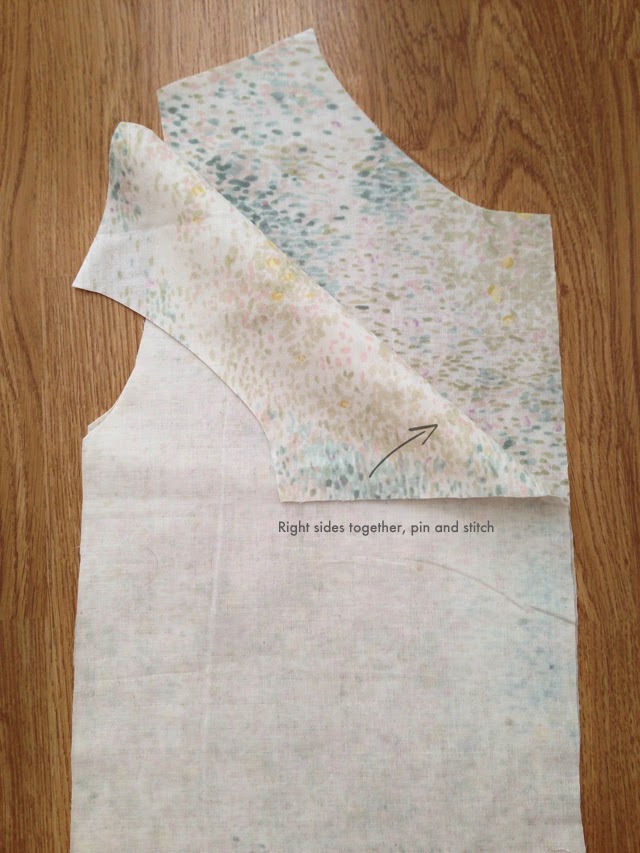
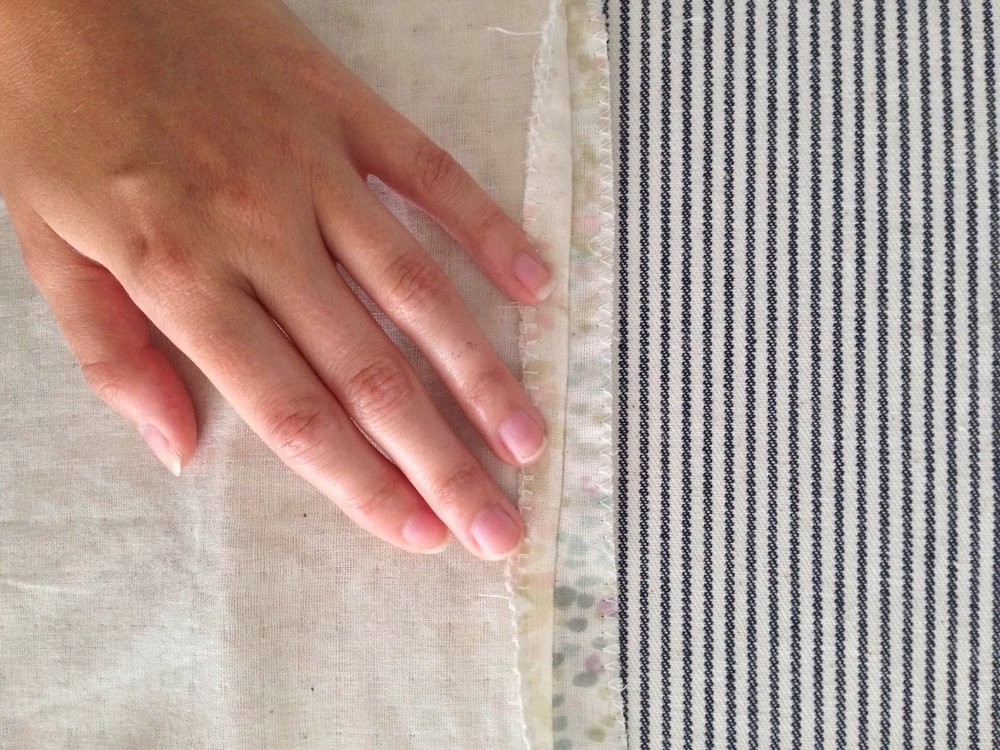
Next you need to attach the front and back by stitching them at the shoulders. Right sides together pin and sew along the shoulders where the seams join. At this point you can slip your top on to make sure you have enough room around the neck and arm holes before committing to more sewing.
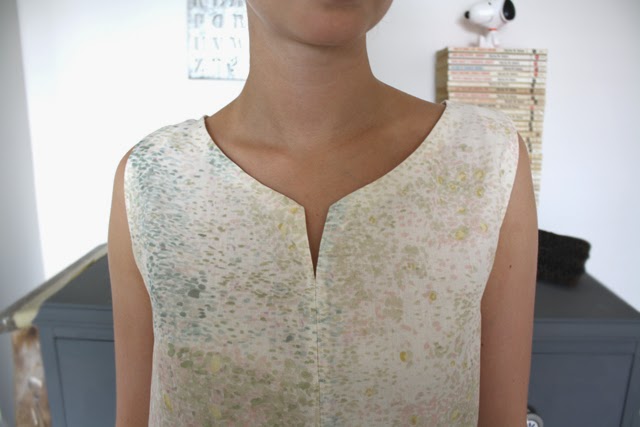
Next you need to sew the sides together and press the seams flat when you're done. Now you need to hem the neckline and arm holes, turn the fabric in by 1.5cm and pin.

Sew slowly around the neck and arm holes as it can be tricky. I found this difficult so next time I sew a top like this I am going to use bias binding to hide the raw edges instead.
The last step is to hem the bottom the same way and you're done! I hope you will give this sewing project a go, it only cost around £5 to make and I completed it in two hours.