Naturally Dyed Eggs for Easter
I have wanted to try out this craft project for a few years and I finally got around to it. Simon and I are currently in the Yorkshire Dales on a little babymoon, we usually come here at Easter for a hiking holiday but seeing as I’m heavily pregnant we’re not doing much of that! It’s been lovely to potter about in the kitchen and have fun naturally dying these beautiful eggs.
I’ve loved the process of natural dye for years. My favourite elective I did at uni was a short course in naturally dyed fabrics and I’ve been interested in the process ever since. You can achieve some stunning colours from things like onion skins, avocado stones, fruit teas, rusty metal and beetroot - the options are almost endless!
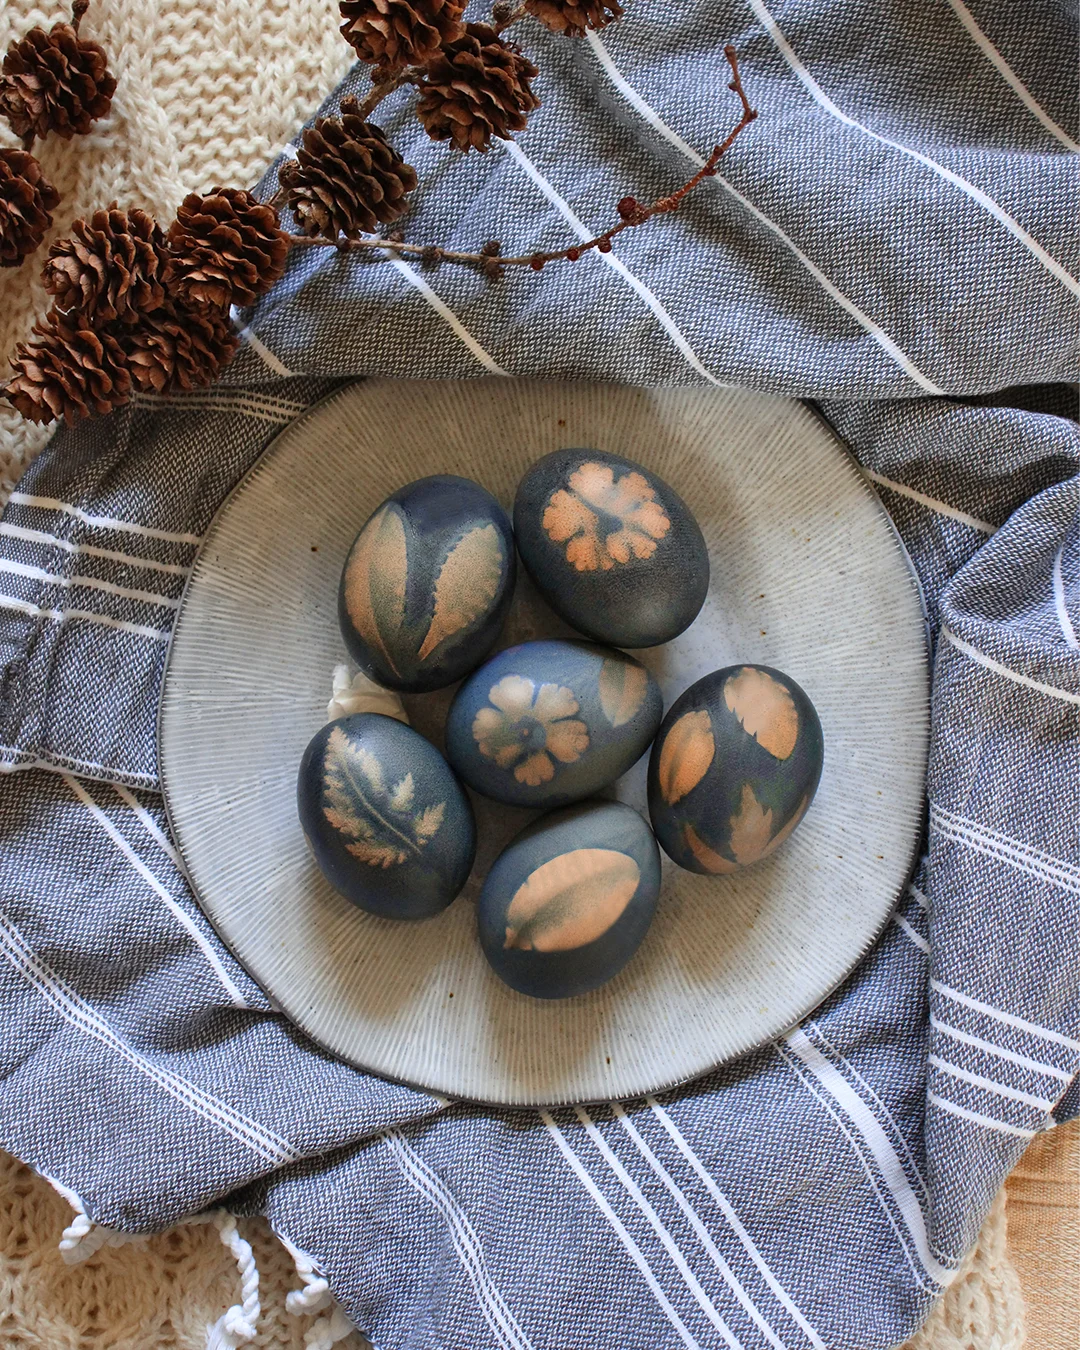
Naturally dying eggs for Easter is a historical craft which is still a popular pastime in many countries. People in Russia traditionally use onion skins to create beautiful pink and rusty coloured eggs so maybe next year I’ll try that technique. As navy blue is one of my favourite colours I opted for red cabbage this time. Keep reading for the recipe.

How to Make Naturally Dyed Easter Eggs
This method is really easy and the perfect easter craft to do with children. Remember that you don’t need to use red cabbage there are lots of other colours you can make. Turmeric = yellow, beetroot = pink, onion skins = orange or rust, and blueberries = silver.
- Ingredients-
Eggs
Large pan
Rubber gloves
Fine strainer
Vinegar (one tablespoon per cup of liquid dye)
Water
Red cabbage (you’ll need one cup of cabbage for every cup of water)
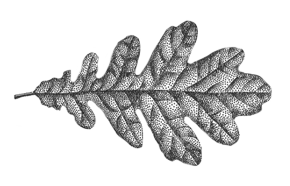
Small leaves
A pair of old tights
-Method-
Chop up your red cabbage, you’ll need the same amount of cabbage as water. I used three cups of cabbage and three cups of water to dye six eggs.
Place a large saucepan on the hob, pour in the water and cabbage and bring this mixture to the boil.
As soon as the water begins to boil turn down the heat to a gentle simmer for around 30 mins.
Let the mixture cool and strain the dye through a fine strainer to catch all the red cabbage. Mix in one tablespoon of vinegar for each cup of dye liquid.
Place the cooled dye in a tall container, preferably something with a lid. I used a tall Tupperware container but you can also use jars if you don’t have anything that big.
Take your pair of tights and cut them into pieces large enough for the eggs to fit into. The tights will keep the leaves in place whilst your eggs are being dyed.
Now it’s time to place the leaves onto the eggs. I used brown eggs but I think white ones would look even better. Carefully place a leaf or two onto your egg and slip a piece of the tight material over the egg and leaf.
Tie each end of the tight so the leaf is pressed into place. Be careful not to be rough as you may break the shell.
Place your container(s) in the fridge overnight for a dark blue colour. For a light blue 3-5 hours will be enough.
Remove your eggs from the dye and allow to dry completely. Carefully remove the tights and leaves from the eggs to reveal a beautiful relief effect.
The eggs will be safe to eat as the dye is completely natural!


I’m so glad I finally got to try my hand at this craft. I’ll be completely honest, I really didn’t think I’d be able to do it. I was sure the brown colour of the eggs would make the blue dye an ugly brownish green but it worked!
I really hope you give this fun project a try and happy Easter to you.

Hi I'm Nancy!
Thanks for stopping by, I hope you enjoyed the post. Make sure to drop by regularly for interior, style and travel inspiration as well as stories from my from daily life.