Dried Floral Wreath DIY
As the weather begins to heat up and the flowers begin to bloom, it can often be hard to step back inside and leave the blossoming buzz of the springtime. To bring a bit of spring back into your home I created this simple and mess free DIY project for you to try.
This spring wreath tutorial was made in collaboration with Laura Ashley and was originally posted on their blog here.
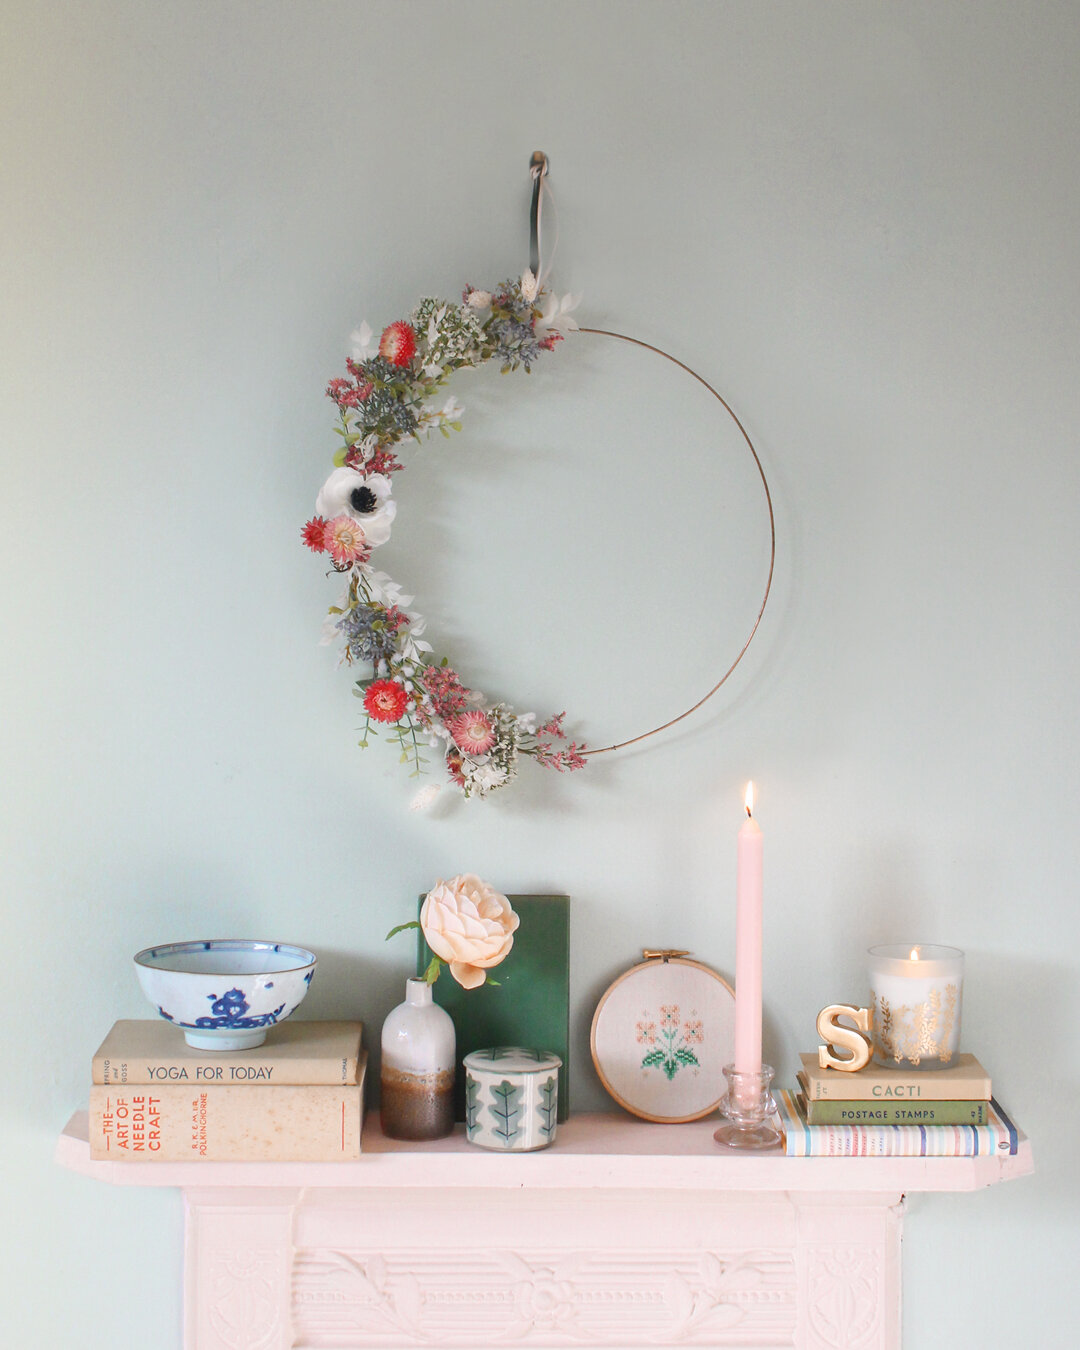
This pastel coloured wreath is a celebration of all things spring. As the days are getting warmer we’re able to enjoy nature so much more—there’s nothing better than seeing all those green buds and shoots arrive after a long winter so why not bring that feeling indoors? As it’s made completely from faux and dried flowers it will last a lifetime, something you can enjoy year after year or even keep up all the time to bring nature inside your home.
If you follow me on Instagram you may already have a sense of my style, I love vintage touches and I’m a little bit boho too so I created this wreath to suit my own home. Feel free to change the flowers, colour and style to match your personal taste.
YOU WILL NEED
– A metal hoop (I used a rose gold one)
– Floristry wire
– A hot glue gun (not a must have but useful all the same)
– A selection of ribbons
– Faux flower stems of your choice
– Dried flowers and grasses
HOW TO MAKE AN EVERLASTING SPRING WREATH
Step 1
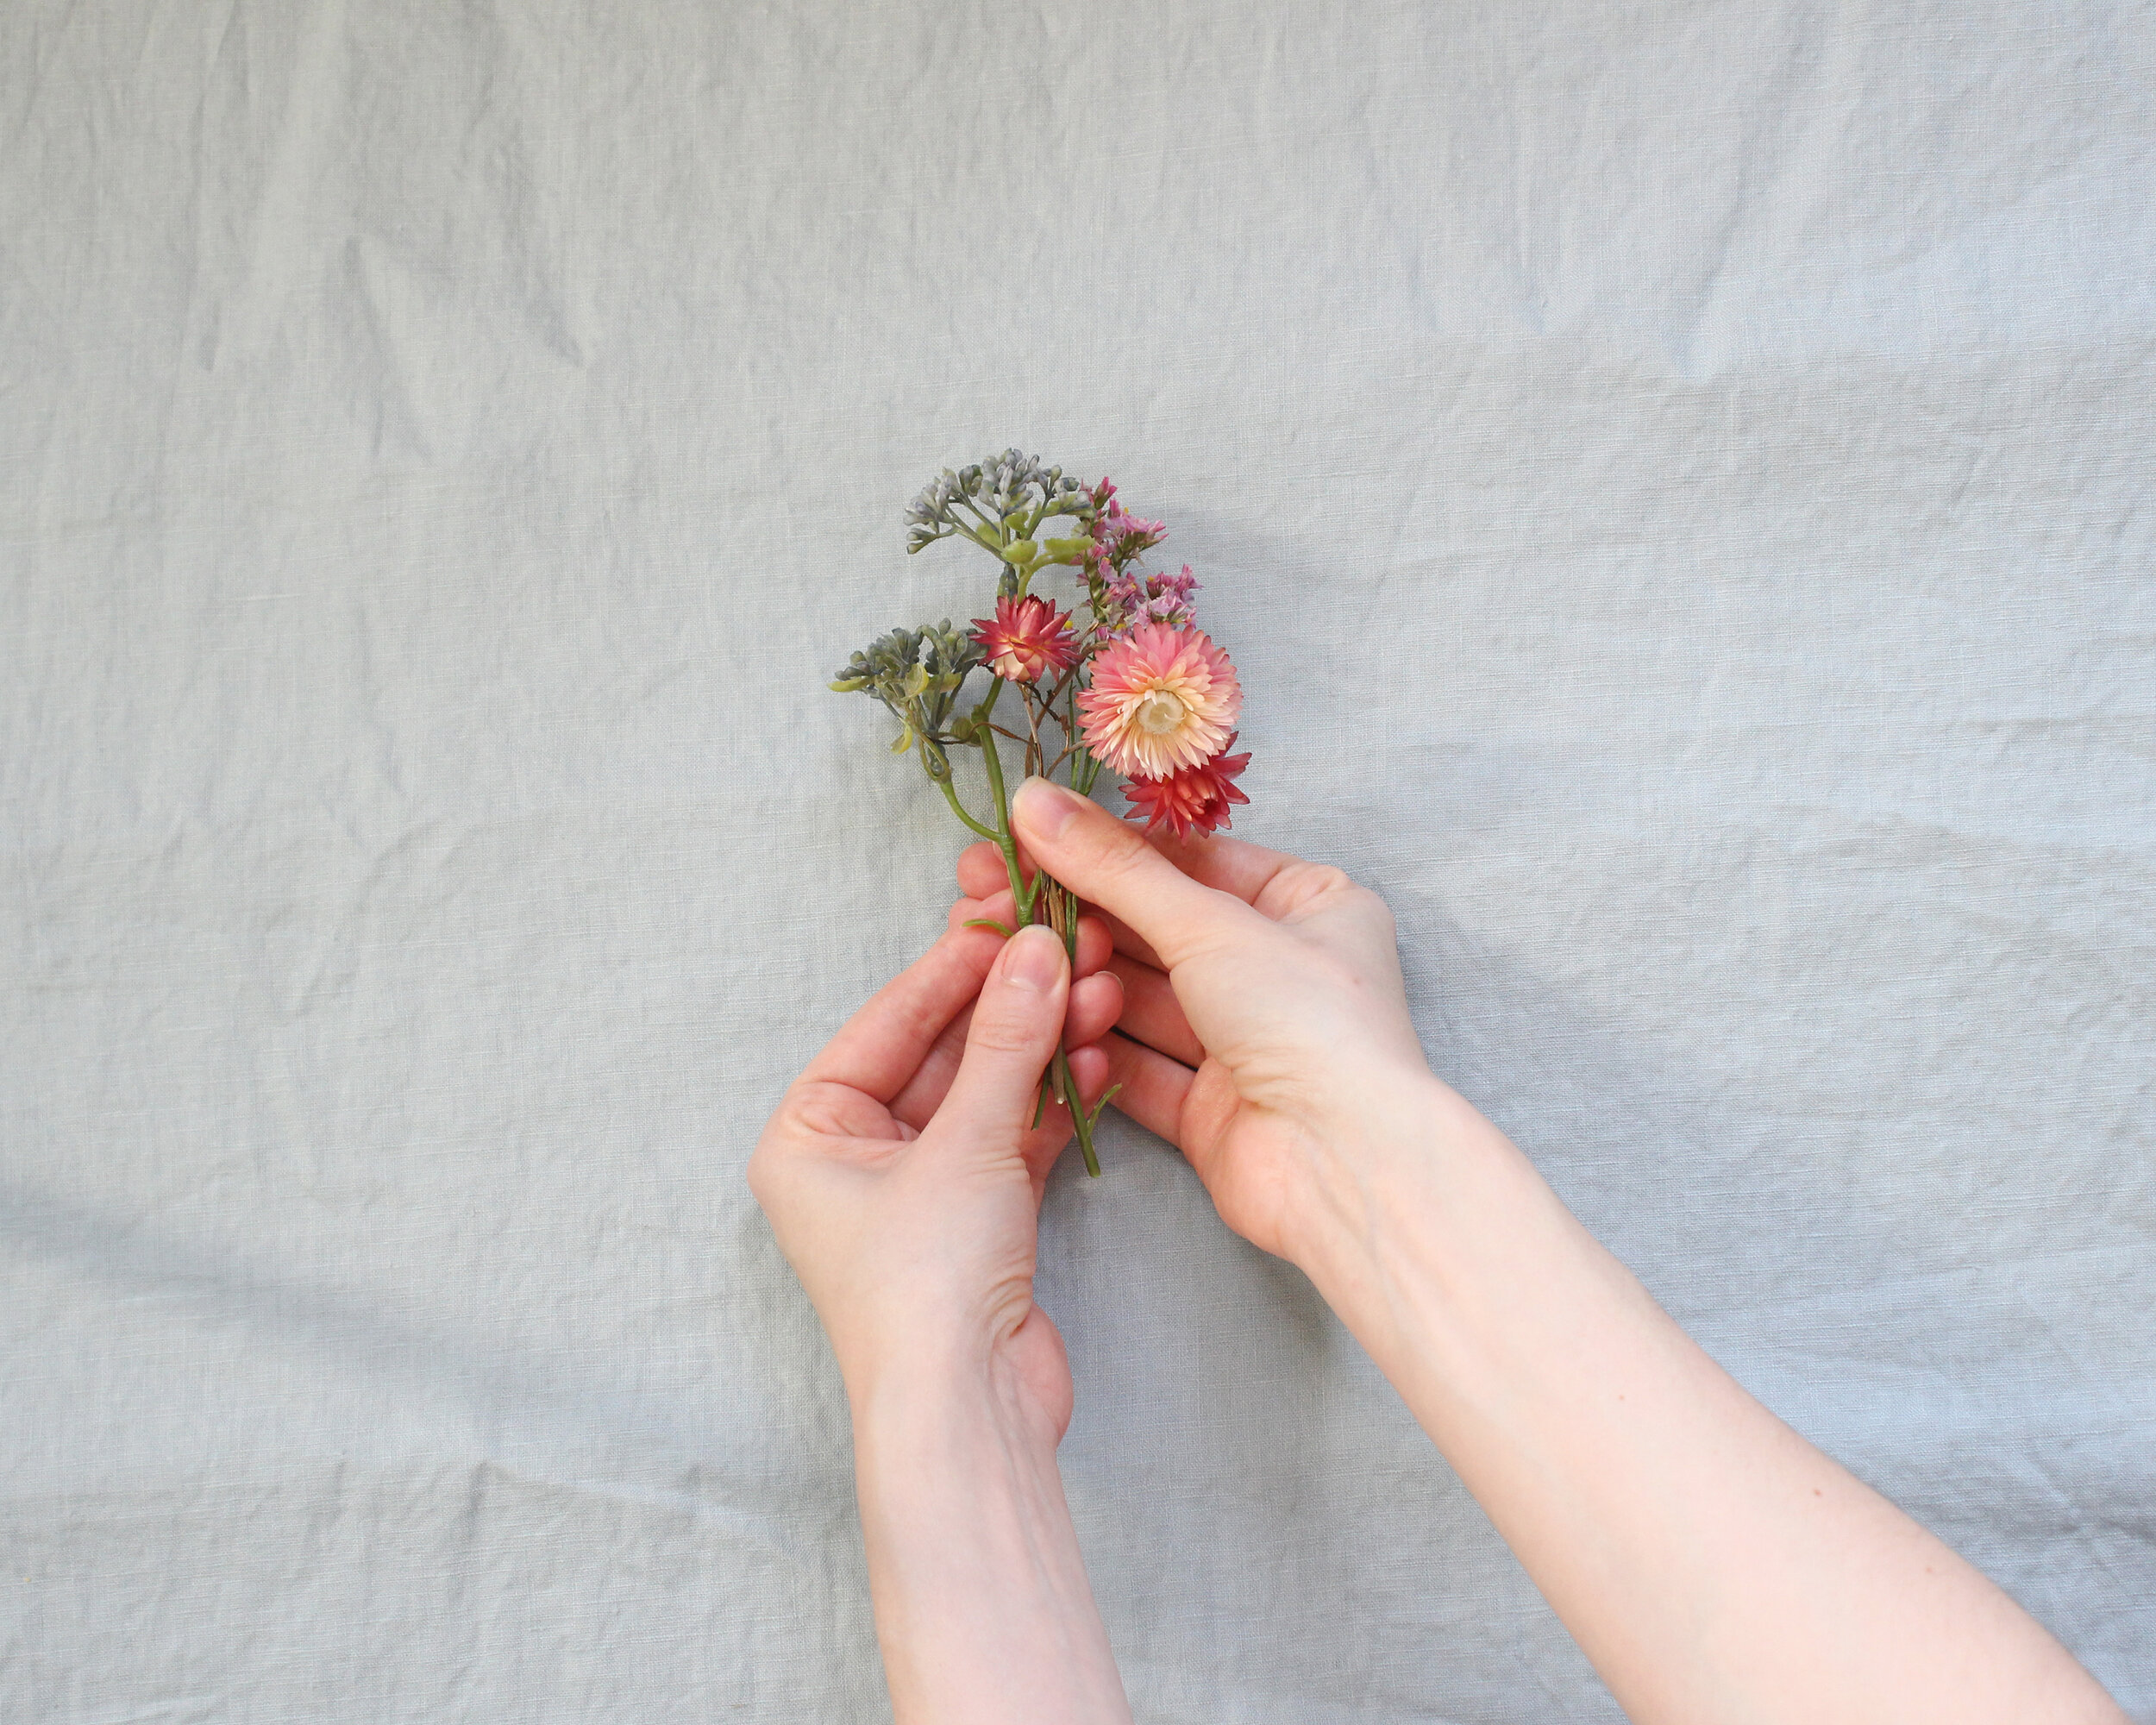
Trim all your faux and dried flowers into sprigs and organise them by type into piles. You’ll be creating mini bunches of flowers to attach to your wreath so begin to select your sprigs and collect them together, pinching the stems with your fingers.

Step 2
Using your other hand wrap floristry wire around the stems until your little posy feels secure. Leave some of the wire sticking out of the sides of your bunch so you can attach it to the wreath hoop.

Step 3
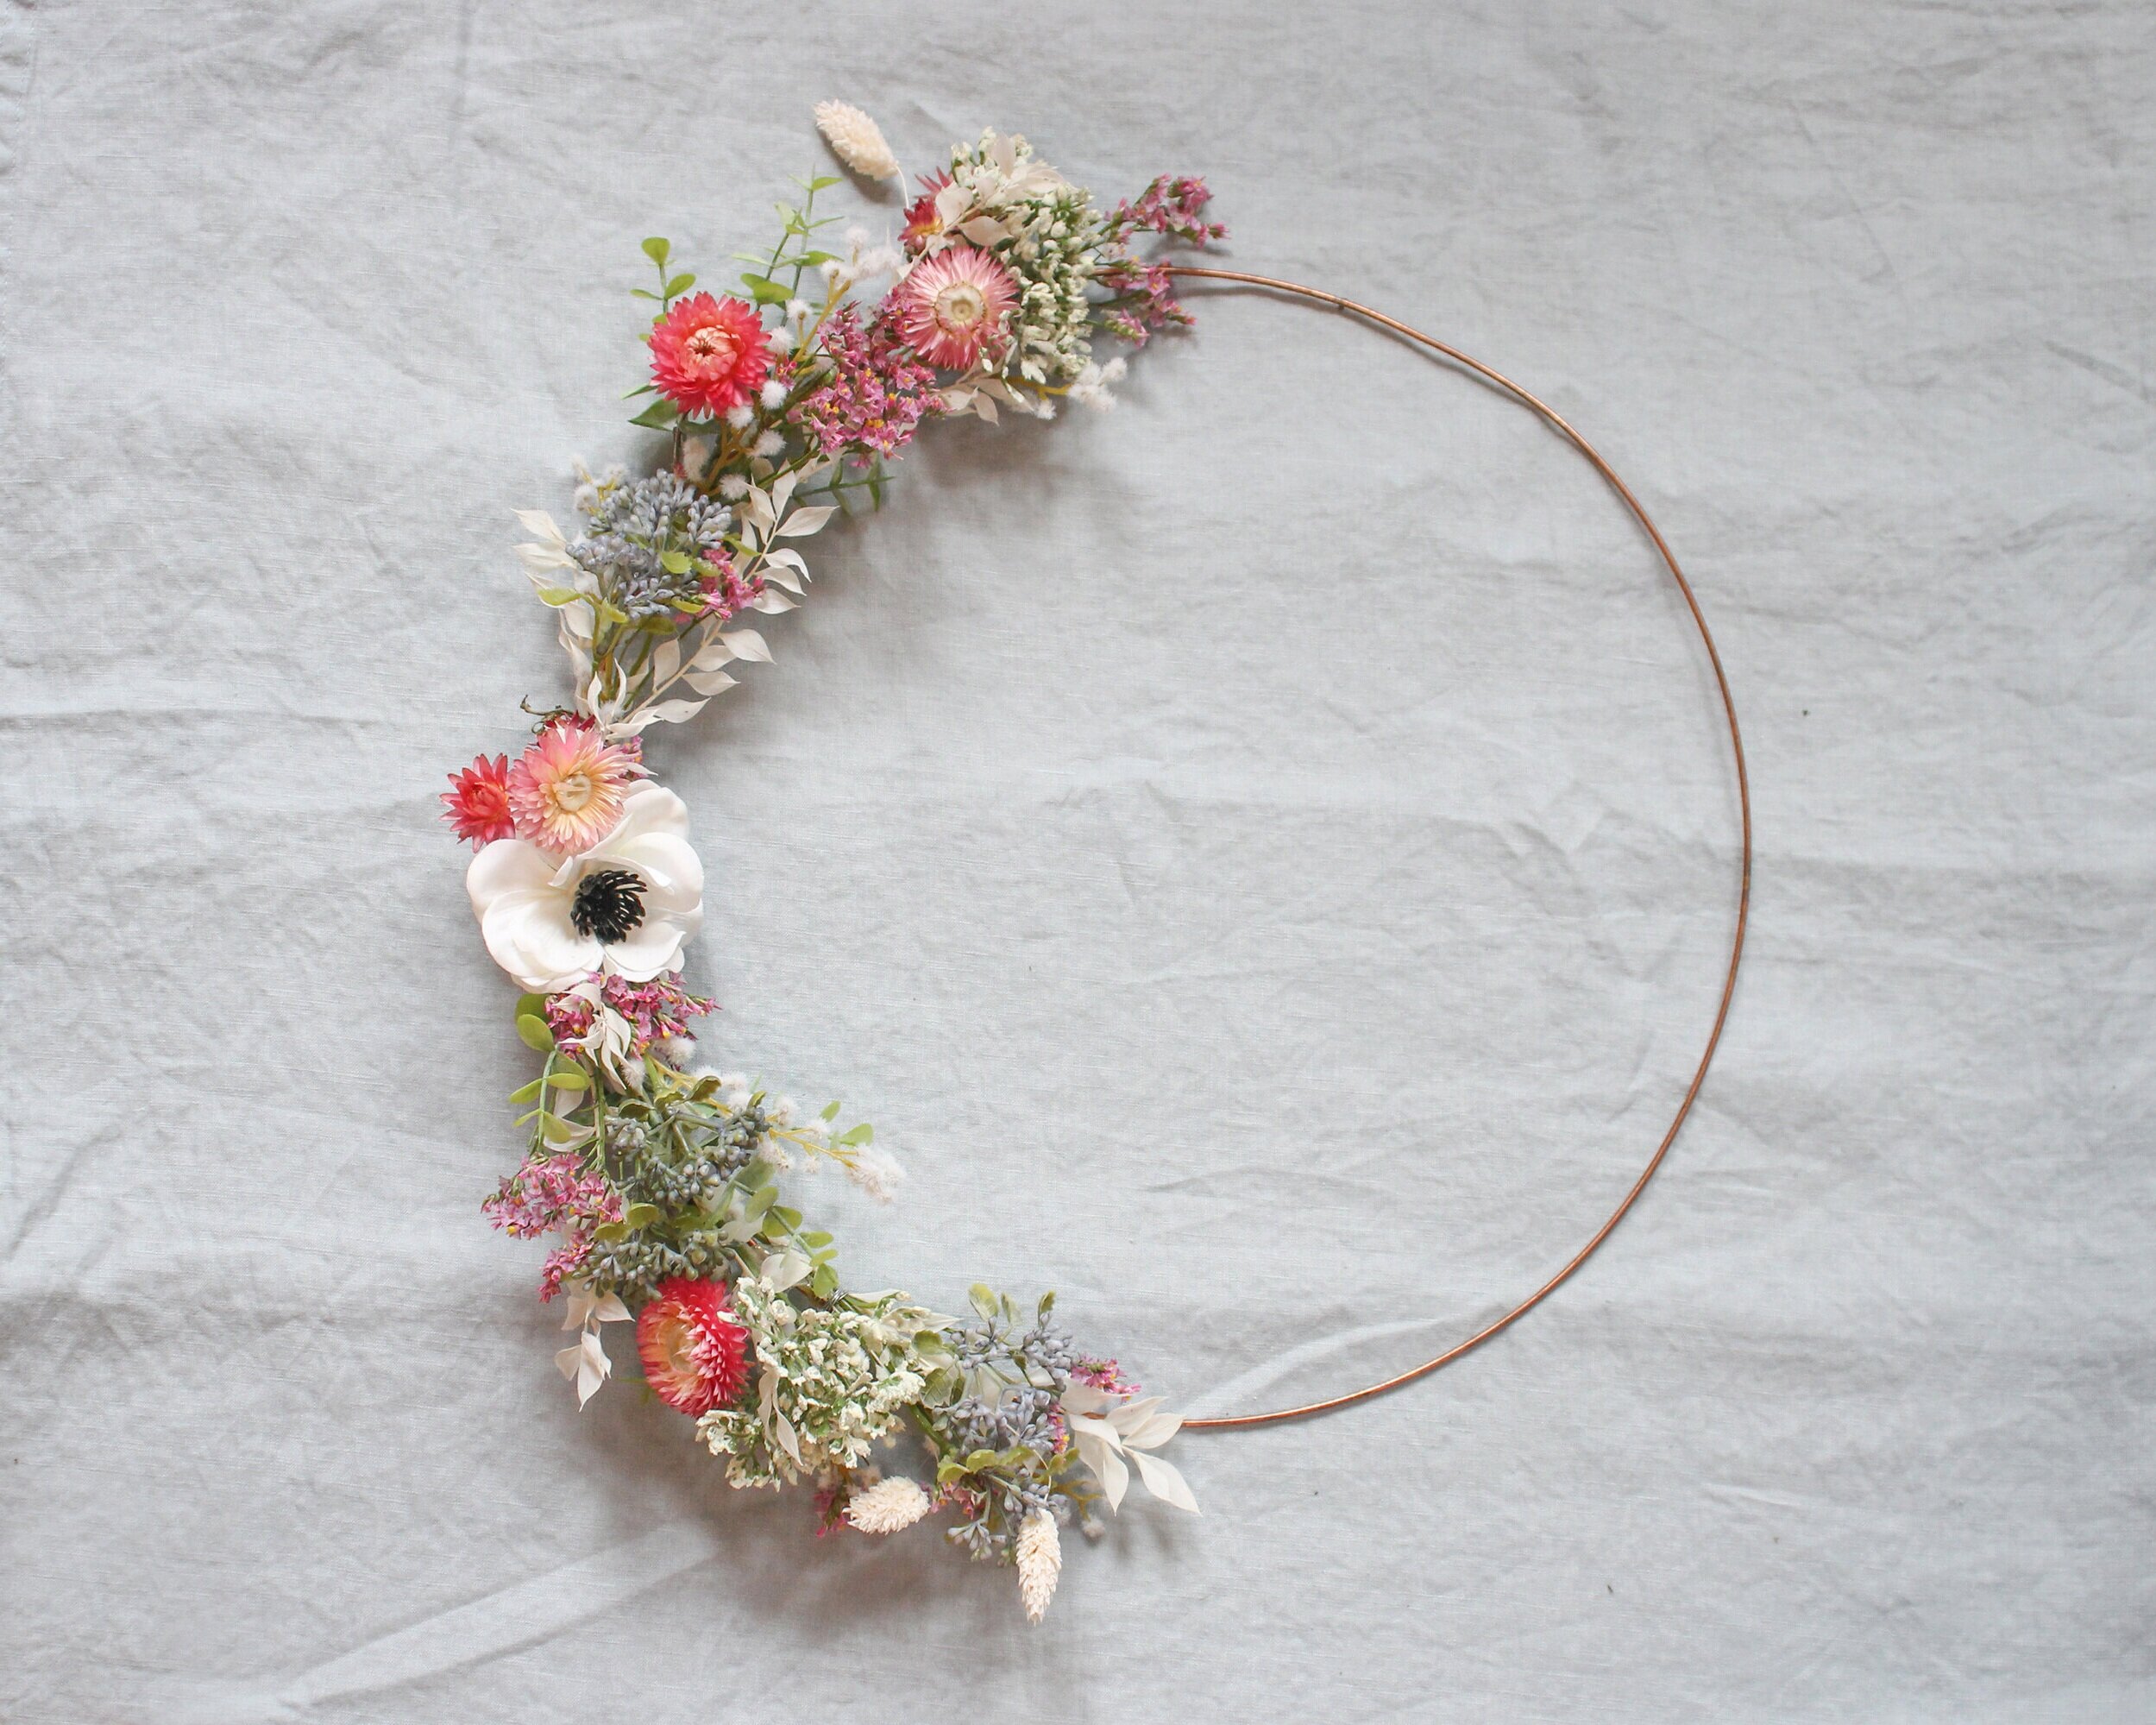
Lay your bunch of flowers along the wreath hoop. You may like to think about the placement, I created a half moon design but you can go all the way around. To begin with, you’ll be moving in an anti-clockwise direction. Wrap the wire around the stems and the hoop to secure your bunch. When you add your next bunch try to cover up the wire of the pervious one. You want your wreath to look seamless.

Step 4
If you’re doing a half moon design like me you’ll want to flip things around half way and begin to go clockwise. I attached my first three bunches at the top of the hoop then started the process again at the bottom with three more bunches facing the opposite direction. This is to ensure a nice clean look with no stems or wires showing once you’re finished.
If you plan on covering the whole of the metal hoop you can ignore this step, just keep going as you were!

Step 5
Once you’ve attached all your bunches you may have a little gap in the centre, don’t worry! To cover this messy bit you can create a mini bouquet, I used one main flower in the centre and added smaller ones each side of the main bloom. Again, use your wire to attach this to the hoop and cover the gap.
Step 6
The final stage is to secure any wobbly flowers with some extra wire or hot glue.
Hang your beautiful spring inspired floral wreath up on a wall or on your front door for a very pretty welcome home. You could also place the wreath on your table and pop a few pillar candles in the centre if you’re planning an easter meal with friends and family. Enjoy!

Hi I'm Nancy!
Thanks for stopping by, I hope you enjoyed the post. Make sure to drop by regularly for interior, style and travel inspiration as well as stories from my from daily life.